Large series machining
- 5Large series machining
- 5Our Machinery
- 5Quality Assurance
Large series machining
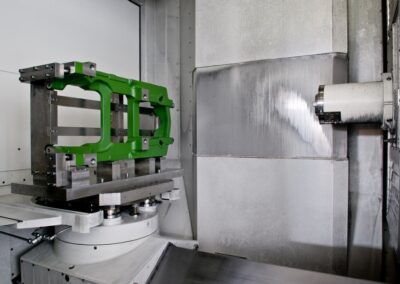
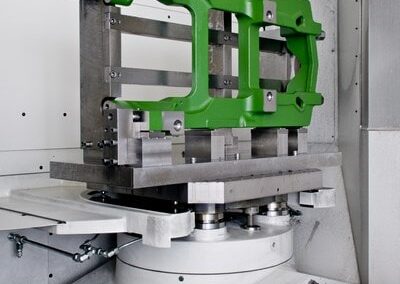
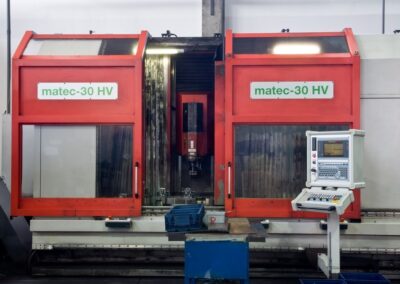
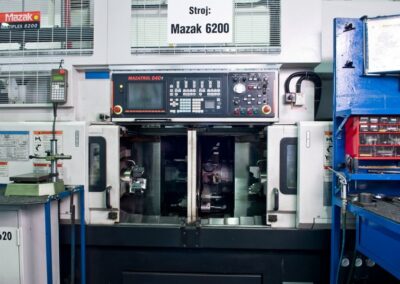
- Our company focuses on milling and turning on CNC machine tools.
- We often subsequently press other components into finished workpieces, or we assemble them into simple sets as needed.
- We cooperate with other companies to also provide heat treatment and finishing of semi-finished or finished products (e.g. with the companies KTL and Komaxit).
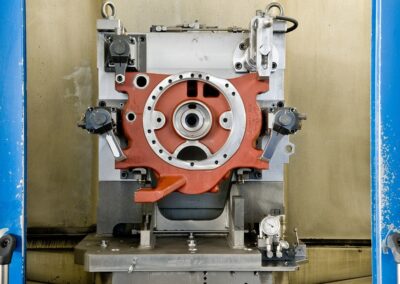
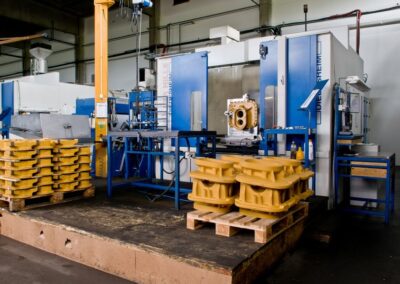
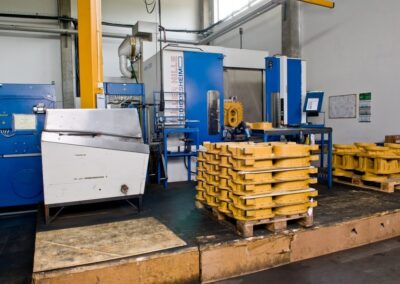
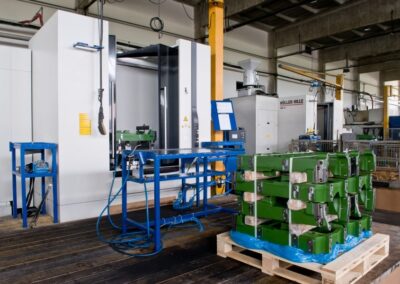
- We primarily machine castings and forgings ranging from 0.5 kg to 300 kg and up to 1200 mm in length.
- The serial nature of our parts ranges from a few hundred to tens of thousands per year. The most typical workpieces from our company are undercarriage components or drive components.
- We begin the product cycle with the early prototype phase, where we work together with the customer to find and optimize potential problem areas of the products.
- The preparatory items for mass production are then designed and manufactured mainly in our own budget, as are most of our special tools. This allows us to prepare new projects in a short time, also increasing the reliability and, last but not least, favorable prices of our services.
Our Machinery
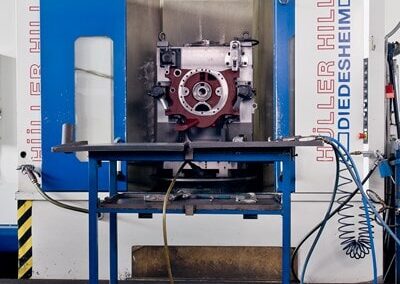
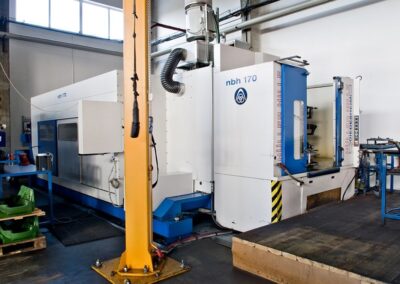
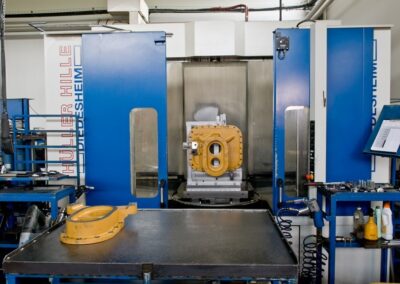
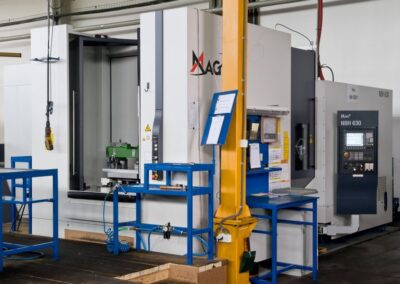
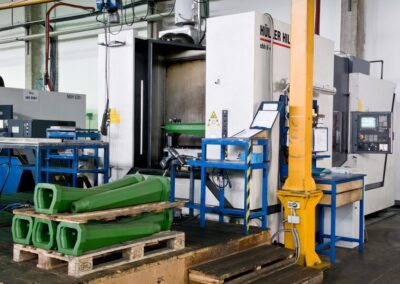
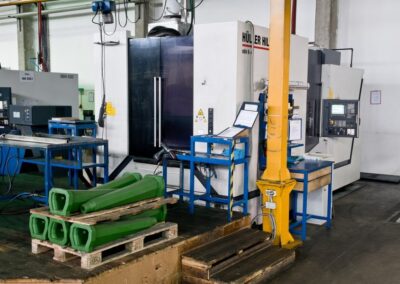
4 x 4D horizontal machining center Hüller-Hille nbh 230
- machining range 1200 x×800 x 1200 mm
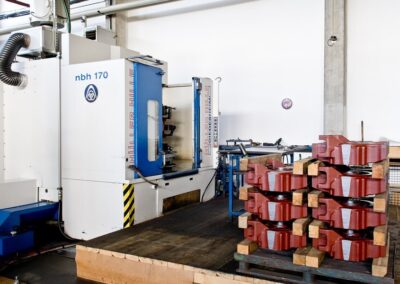
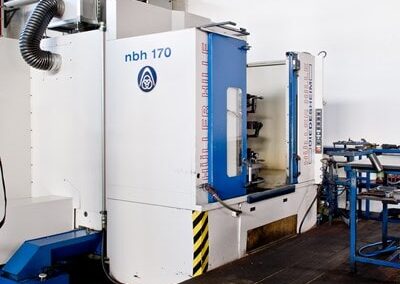
1 x 4D horizontal machining center Hüller-Hille nbh 170
- machining range 1000 x×800 x×800 mm
3 x 4D horizontal machining center Hüller-Hille nbh 6+
- machining range 1050 x×800 x×1000 mm
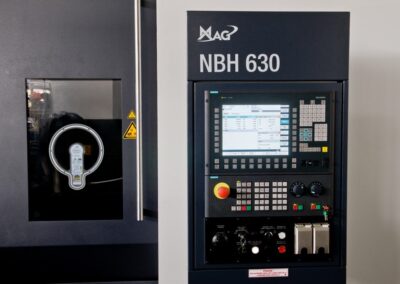
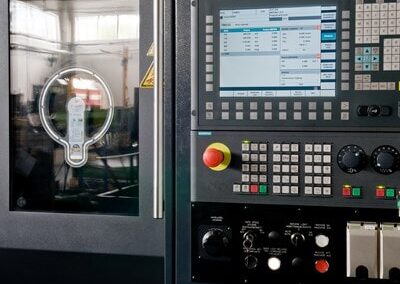
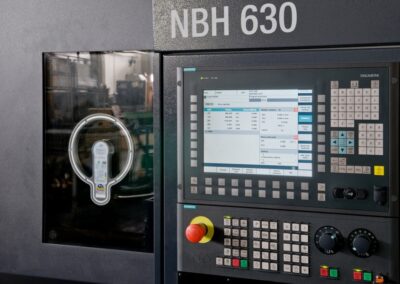
2 x 4D horizontal machining center Hüller-Hille nbh 630
- machining range 1050 x×800 x×1000 mm
1 x 3D vertical machining center Tajmac-ZPS MCFV 1260
- three-axis milling
- machining range 1270 x 610 x 760 mm
Quality Assurance
- Quality control is carried out during the entire production process, from the input of the material to the shipment of the finished products.
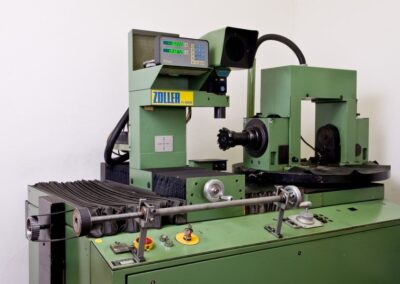
- The input control covers purchased products as well as the customer’s material. In cooperation with a certified laboratory, we ensure the basic inspection of mechanical properties and chemical composition.
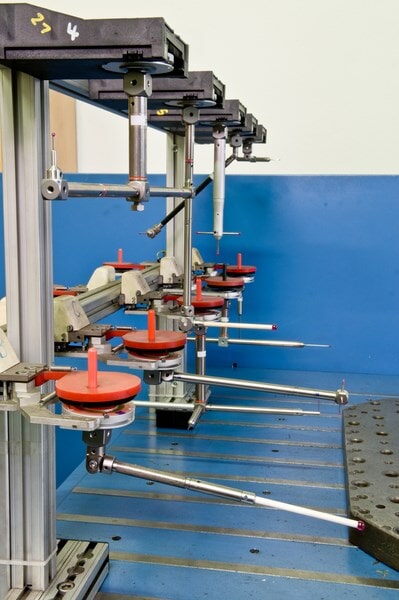
- Continuous control over the production process is secured by a system of self inspection – each worker is responsible for product quality. Ordinary communal gauges are checked regularly and are subject to regular calibration, either internally or in cooperation with a certified laboratory.
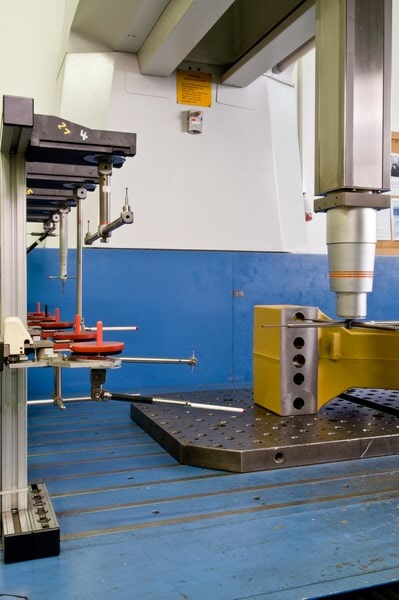
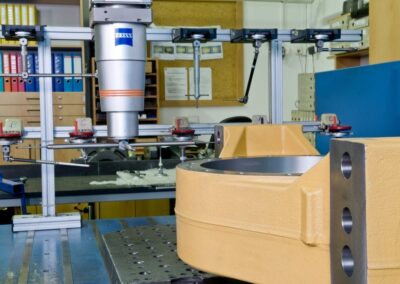
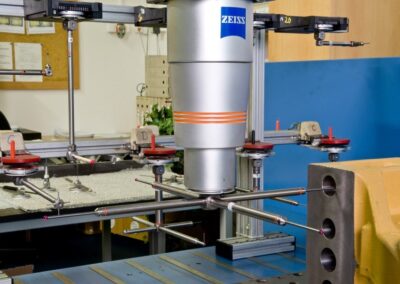
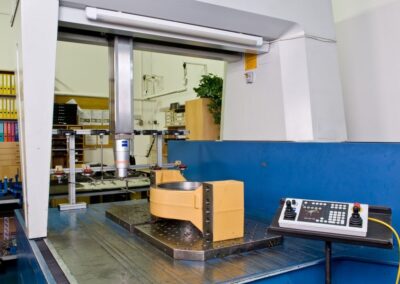
- The products are regularly measured on a 3D coordinate measuring machine from the Carl Zeiss company. The measured values are stored and used as proof of the quality of the manufactured products.
- As part of a system of ongoing care dedicated to improving the quality of production, data are measured continuously or statistically evaluated based on the customer’s wishes. This is accomplished through the use of the statistical software qs-STAT from the company Q-DAS®.
- We use the CAQ system from the Czech company PALSTAT. These individual modules have proven to be successful for the storage of information, quality planning in manufacturing, and for measurement evidence and verifying them for eligibility.


